Gardening Advice, Planting Tips, and Treatments for Common Plant Problems
-
All About Annuals
An annual is a plant that completes its life cycle in one growing season. Annuals have many uses. They provide colour and interest in gardens or in containers for porch, patio or balcony. They fill in open spaces after spring bulbs have bloomed or between perennials. Annuals provide a new home with an ‘instant’ garden while slow-growing foundation plantings, such as evergreens are maturing. Some annuals can be used indoors as cut flowers and most annuals will bloom all summer long.
Selecting Plants
Choose plants that are dark green, vigorous looking and short in height. Ensure that all plants that you select for a particular garden area require the same light conditions. Choose plants with a variety of heights and plant your bed with the tallest plants at the back and shorter plants at the front to ensure the best display.
Pre-Planting
If you buy bedding plants but cannot plant them the same day, water the packs thoroughly and put them in the shade to prevent excessive wilting. Prepare flower beds by spading deeply. Build up soil with the addition of peat moss, composted manure or top soil.
How to Plant
Evenings or cloudy days are the best times to plant. Refer to the information tag that accompanies the flowers to determine the spacing requirements for your plants. Soak the plants before removing them from their containers. Keep as much soil around the roots as possible and plant the root ball below the soil line. Remove all buds and blooms after planting to help the plants establish themselves. We recommend the use of Miracle Gro Fertilizer when you do your transplanting.
Watering
Water plants thoroughly when first planted. Thereafter, water whenever the soil is dry. Water early in the day with a soaking technique at ground level. Don’t rely on rainfall to keep plants adequately watered.
After Planting Care
To promote bushy, vigorous growth and continuous blooming, pinch out the central bud of annuals such as tall snapdragons, zinnias and marigolds. The tops of plants that ten to vine, such as petunias should be pinched back to 3 or 4 inches when they begin to stretch. Flowers should be removed after blooming to prevent seed formation and promote future blooming. Fertilize every two weeks. We recommend the use of Miracle Gro Fertilizer.
-
When To Plant
Vegetables can be divided into two groups, cool weather crops and warm weather crops. Cool weather crops can be planted in April. Warm weather crops should be planted after the risk of frost has passed. In the case of frost after planting, they should be protected by covering with newspaper. Unfortunately, we are unable to predict when the risk of frost has passed. Customers must decide for themselves when it is safe to plant.
Cool weather crops include broccoli, brussel sprouts, cabbage, cauliflower, lettuce, onions and parsley. Warm weather crops include cucumber, eggplant, muskmelon, peppers, squash, tomatoes, watermelon and zucchini.
Garden Planning
Find an area that will receive at least five or six hours of direct sunlight. All vegetables require sun. To decide which vegetables to include in your garden, take into consideration the amount of space you have available (some vegetables require more ‘growing room’ than others), your own requirements for canning, freezing or table use, local frost dates and climate conditions. For a longer harvest period, plant vegetables at staggered time intervals.
Pre-Planting
If you buy vegetable plants but cannot plant them the same day, water the packs thoroughly and put them in the shade to prevent excessive wilting. Prepare vegetable beds by spading deeply. Build up soil with the addition of peat moss, composted manure or top soil.
How to Plant
Evenings or cloudy days are the best times to plant. Refer to the information tag that accompanies the vegetables to determine the spacing requirements for your plants. Soak the plants before removing them from their containers. Keep as much soil around the roots as possible and plant the root ball below the soil line. We recommend the use of Miracle Gro Fertilizer when you do your transplanting.
Watering
Water plants thoroughly when first planted. Thereafter, water whenever the soil is dry. Water early in the day with a soaking technique at ground level. Don’t rely on rainfall to keep plants adequately watered.
After Planting Care
To keep your garden a healthy place for growing vegetables, get rid of weeds as soon as they appear. Fertilize every two weeks. We recommend the use of Miracle Gro Fertilizer.
-
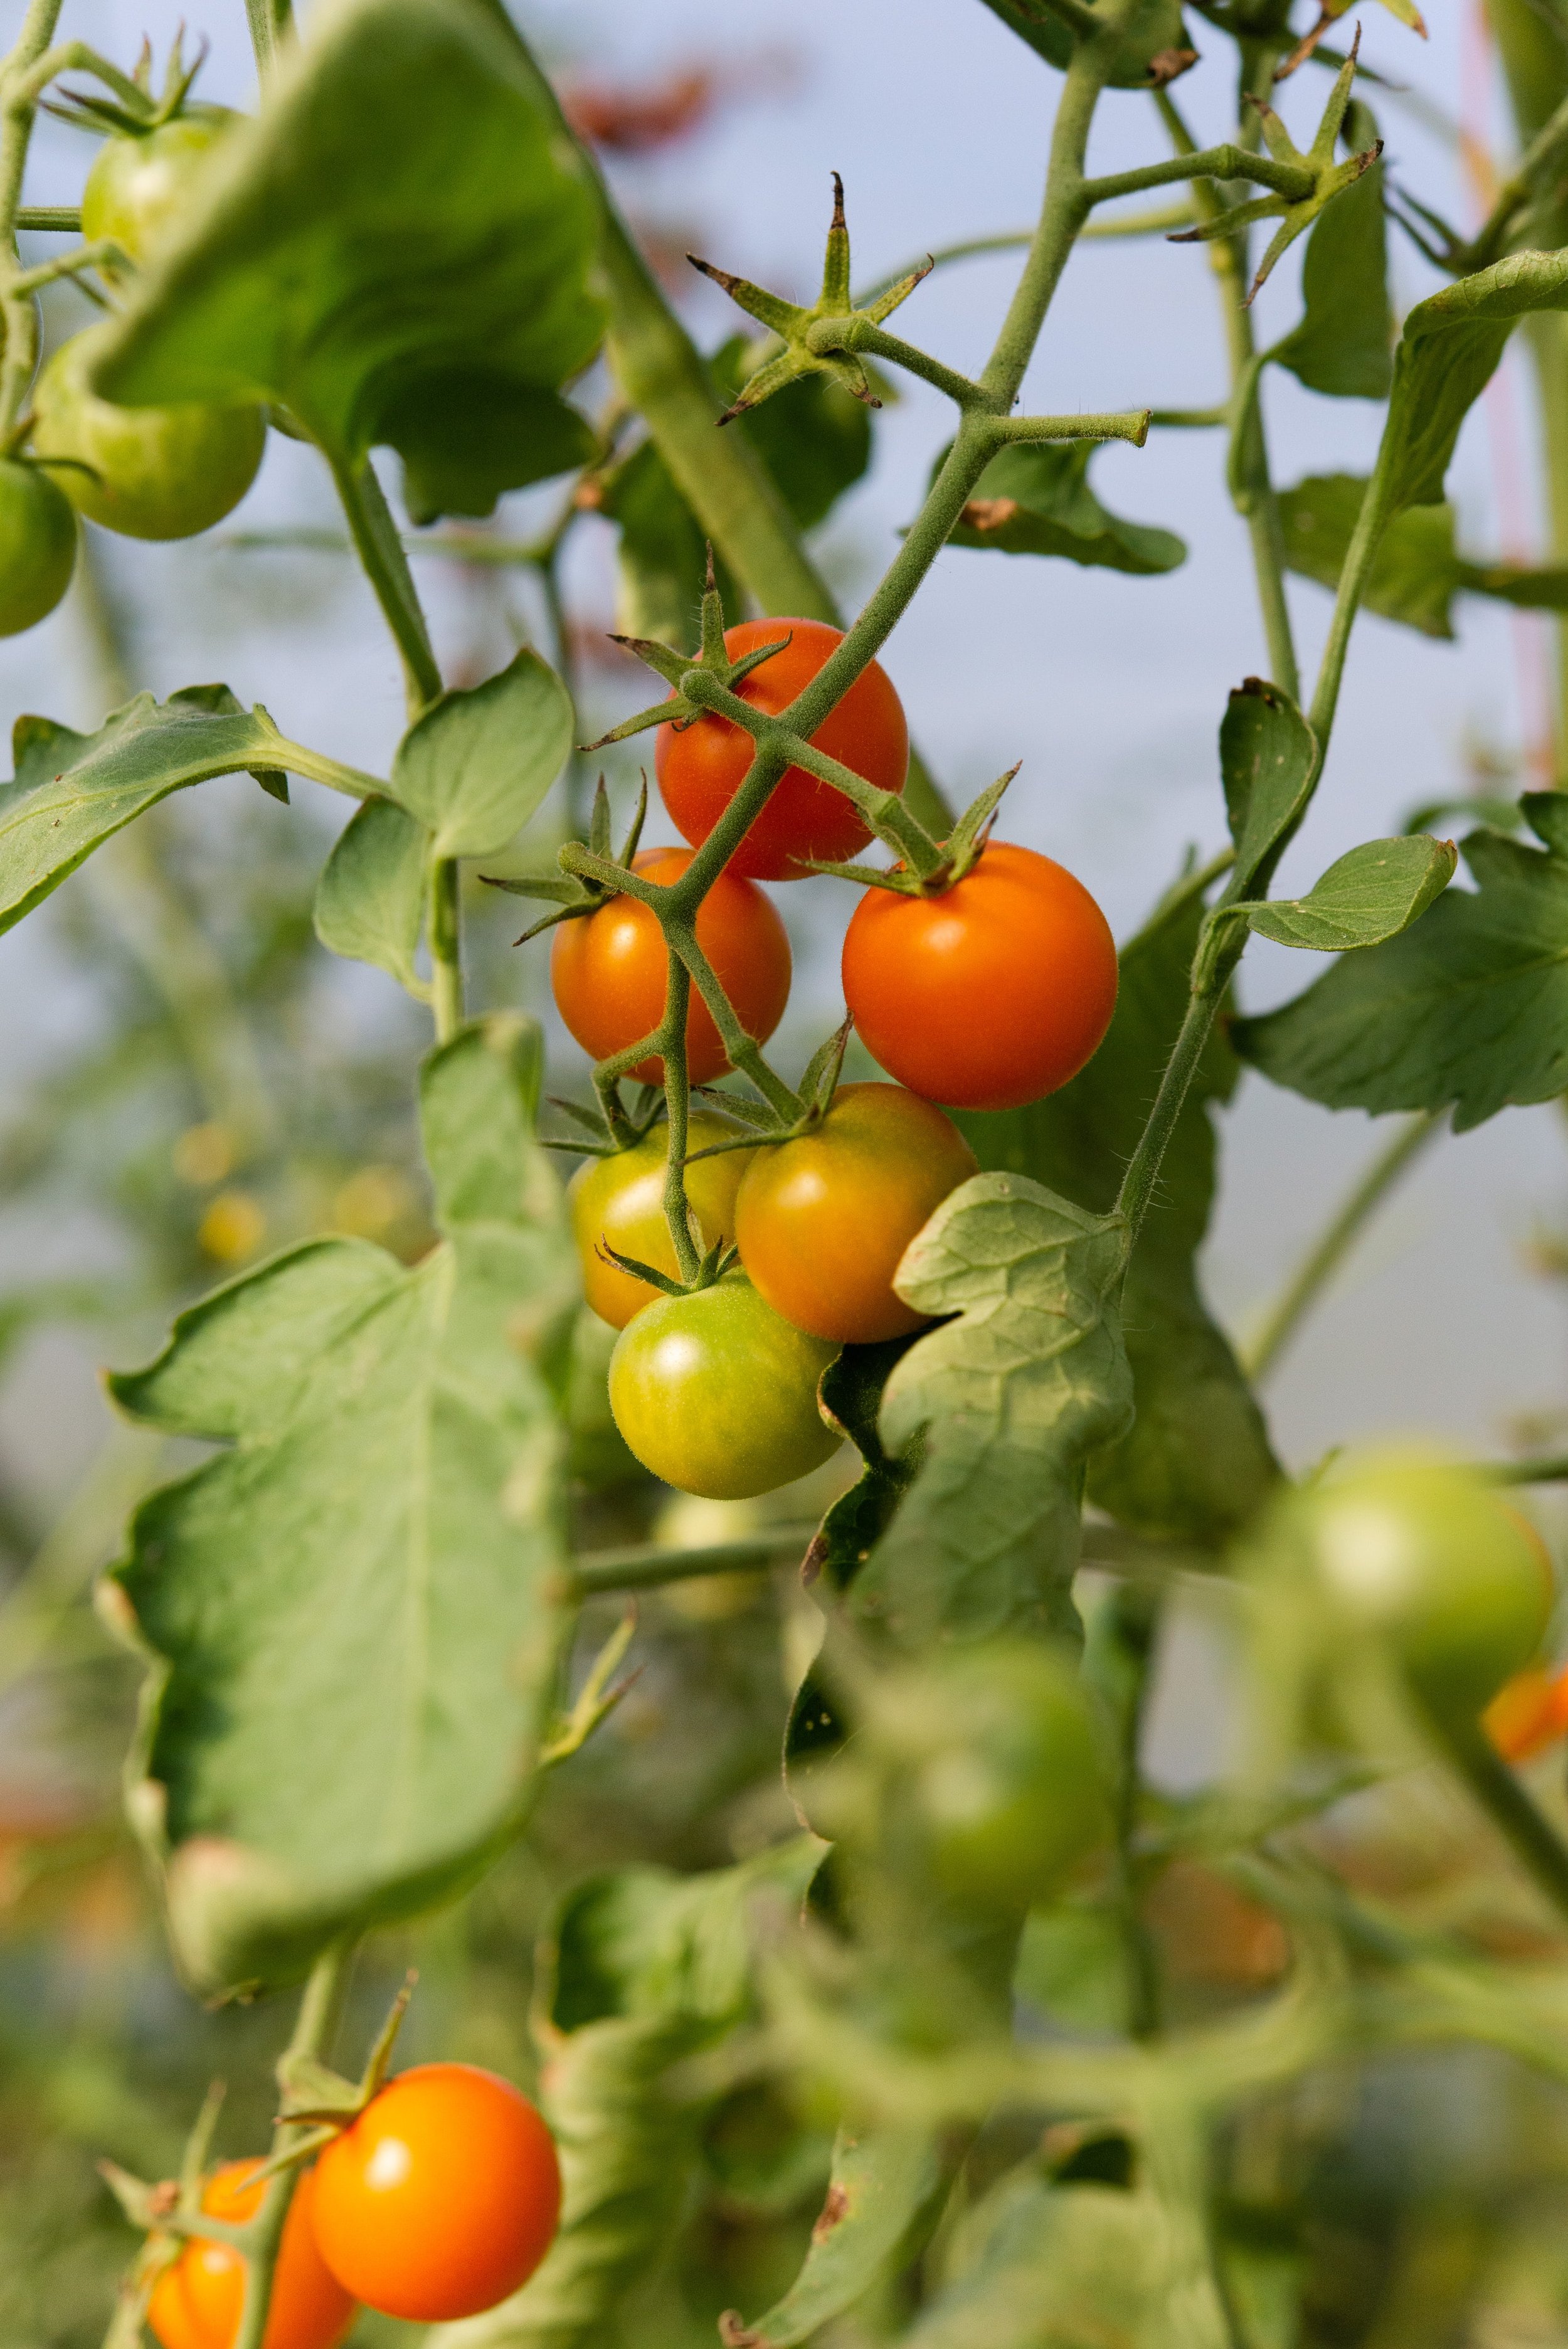
All About Tomatoes
Tomatoes are the most popular vegetable for the home garden. Rich in Vitamins A, B and C, tomato varieties are available to produce fruit from early season to frost. Tomatoes are easy to grow. Even a few plants will produce plenty of fruit for eating fresh, canning, and freezing.
Three Ways to Grow Tomatoes
Free-growing: Free-growing tomatoes are given no support, but are allowed to sprawl on the ground. Mulch is essential for this system of growing. Space plants 3-4’ apart.
Staked: When plants have been growing about two weeks, place 4’ stakes 6” away from each plant. Set the stakes 10” deep in the soil. Use string to secure the plant to the stake. Space the plants 2’ apart in rows 3-4’ apart.
Caged: Cages are wire frames that form a three foot high confinement for each plant. Space the plants 3’ apart.
Choose the Method Best for You
Staked and caged tomatoes require less growing space. Fruit is kept off the ground, tends to be larger and is easier to pick. Plants are easier to work around. Staked and caged plants require more water because they are exposed upright to sun and wind. They develop more foliage to shade the ripening fruit. Free-growing tomatoes often have a larger crop because plants bush out. Extra tomatoes will form on the side stems. This method requires a lot of space, and mulch is essential.
Cutworm Protection
Cutworms can chew through a tender young stem overnight. Place a 2-3” newspaper collar around the stem of new transplants, leaving one inch above the soil line and an inch or more below.
Pruning
To keep energy of the plant directed to two or three main stems, pinch off shoots (suckers) that grow from the stem above a leaf branch. To control growth, pinch off the tip of the main stem above the top blossom. Toward the end of the season, pinching out the top will direct energy toward ripening the tomatoes.
-
All About Herbs
Fresh herbs are easy to grow indoors or outdoors. A few pots in your kitchen window sill will always be close at hand to add gourmet flavour to your cuisine. Outdoors, herbs can be planted within easy reach at the kitchen doorstep, or in the vegetable garden. Even the patio, balcony, or deck can be adorned with herbs growing in attractive containers.
Home grown herbs are very economical and can easily be preserved by drying or freezing. After cooking with your own herbs you will never again settle for the pre-packaged versions.
Growing Herbs Indoors
When you grow an indoor herb garden, you can enjoy fresh herbs at your fingertips all year round. Basil, chives, dill, mint, oregano, rosemary and thyme all grow well indoors. Most herbs need at least four to five hours of direct sunlight each day, so any south, west, or east window should be fine. Turn the plant regularly so all sides get even exposure to light.
It is important to check herbs frequently to determine if they need water. Be careful not to overwater, causing the soil to stay soggy, especially during winter months.
Growing Herbs Outdoors
Herbs grow best outdoors if they are in the sun for at least half of the day. They prefer well-drained soil. Enrich the soil by adding peat moss, composted manure or top soil.
Herb gardens are very easy to take care of because they require very little water. The more slowly herbs grow, the more aromatic and flavourful they become. Water herbs only when the soil is dry, but then water thoroughly. Use fertilizer sparingly.
Tender perennial herbs can be brought indoors for the winter months. Herbs brought indoors will sometimes lose their lower leaves while adjusting to the new environment. Do not worry because new growth will soon appear.
Harvesting and Preserving
Collect leaves from the top of the plant so the plant continues to grow bushy and compact. Flavour is best before the plant flowers.
Herbs can be preserved by freezing. Simply wash, shake off excess water and place leaves in freezer bags to use as needed.
Dry herbs by hanging small bunches or spreading leaves out on a screen in a cool, dark, well ventilated area. To remove any remaining moisture, finish the drying process in the oven at the lowest temperature setting for 10 to 20 minutes. Keep dried herbs whole until just prior to use.
-
All About Planting For Containers
Hanging baskets and planters should be at least 10” in diameter, as smaller containers dry out too quickly. Window boxes should be at least 6” deep. Drainage holes are necessary for all containers.
Selecting Plants
Consider where containers will be placed (sun or shade). Remember all plants should have the same light requirements.
Soil Preparation
Use Potting Soil only. Do not use field, garden, or black earth top soil because it has inadequate drainage and may contain insects or weed seeds.
How to Plant
Soak the plants, remove them from their containers and set into soil. There should be room for the entire root ball plus additional soil to fill in around each plant. Ensure that the roots are completely covered. The soil surface should be ½” (1cm) below the rim of the container so that water will not run off.
After Planting Care
Water plants thoroughly when planting and thereafter, whenever the soil is dry. Due to limited soil, container gardens dry out quickly. Normally, they should be watered at least once a day. Containers should be fertilized once per week. We recommend Miracle Gro Fertilizer.
-
All About Perennials
Perennials grow year after year without replanting. The heart of a flowering garden may be the unchanging perennials, brightened with a yearly change of annuals interspersed for contrast. Some perennial varieties multiply and grow larger as the years pass.
Selecting Plants
Ensure that all plants that you select for a particular garden area require the same light conditions. Flowering periods of perennials vary; choose plants with a variety of heights and plant your beds with the tallest plants at the back and shorter plants at the front to ensure the best display. Use a variety of colour, leaf shape, and flower shape for added interest.
Pre-Planting
If you buy perennials but cannot plant them the same day, water the packs thoroughly and put them in the shade to prevent excessive wilting. Prepare flower beds by spading deeply. Build up soil with the addition of peat moss, composted manure or top soil.
How to Plant
Evenings or cloudy days are the best times to plant. Refer to the information tag that accompanies the flowers to determine the spacing requirements for your plants. Soak the plants before removing them from their containers. Keep as much soil around the roots as possible and plant the root ball below the soil line. Remove all buds and blooms after planting to help the plants establish themselves. We recommend the use of Miracle Gro Fertilizer when you do your transplanting.
Watering
Water plants thoroughly when first planted. Thereafter, water whenever the soil is dry. Water early in the day with a soaking technique at ground level. Don’t rely on rainfall to keep plants adequately watered.
After Planting Care
Perennial beds should be kept free from weeds, especially before plants are established. Flowers should be removed when overbloomed to prevent seed formation and promote future blooming. Never remove leaves until they have completely matured and died. Some perennials become overgrown after three or more years; select the younger, outside growth to replant and discard the old material. Fertilize every two weeks. We recommend the use of Miracle Gro Fertilizer.
Winter Preparation
In late autumn, flower heads and remaining foliage should be trimmed to within a few inches of the ground. Soil between plants should be spaded and compost added to fertilize and aerate the soil.
-
Impatiens
Gardeners across the country are experiencing the disappointment of the pathogen Plasmopara Obducens, which causes downy mildew in the ever popular impatiens. This problem is not exclusive to our part of the world and became widespread in 2012. Affected leaves turn yellow and are rapidly shed from the plant. A fine white fungal growth may be visible on the lower leaf surface, but affected leaves decay rapidly. Flowers are also commonly shed, and the plant is often reduced to bare branches with a small tuft of yellow leaves and flower buds at the tip. Affected plants will eventually die. Experts are working on a solution, however at this time there are no resistant cultivars and no fungicide is available for the control of this disease.
As an alternative to impatiens, we recommend New Guinea impatiens (which are not prone to this disease), begonias and annual vinca.
Aphids
Aphids are green coloured insects which line the stems and undersides of leaves, especially around the new areas of growth. When aphids appear on plants, spray with a solution of water mixed with dish soap, or with an insecticidal soap available for purchase at most hardware stores.
Root Rot
Plants require oxygen around their roots to remain healthy. Too much water lying around the roots of a plant will cause the roots to begin to rot and the plant will die. Thus, plants must never be left in a waterlogged condition for an extended period of time. Use potting soil in containers, and peat moss in garden beds to keep the soil around the roots adequately aerated. Ensure that all containers have drainage holes.
Yellowing Leaves
Yellowing leaves can be caused by overwatering or by lack of fertilizer. If the leaves yellow and drop, the plant is probably suffering from too much water. If the leaves yellow but do not drop, the plant probably needs more fertilizer. We recommend the use of Miracle Gro Fertilizer.